How to Set Up a Custom Namecheap Domain on Substack & beehiiv (DNS + DMARC)
Running your newsletter on a custom domain builds compounding Google SEO equity that you keep forever—even if you migrate between Substack, beehiiv, Ghost, or ConvertKit later.
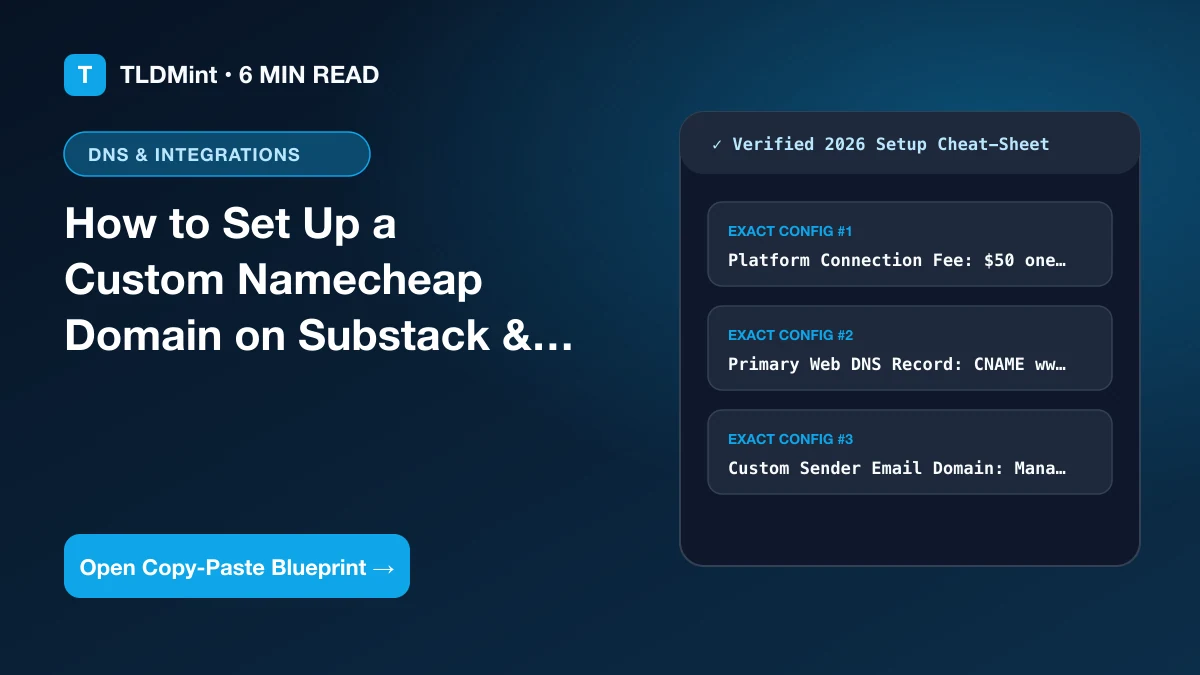
How Substack vs beehiiv custom domain DNS differs on Namecheap
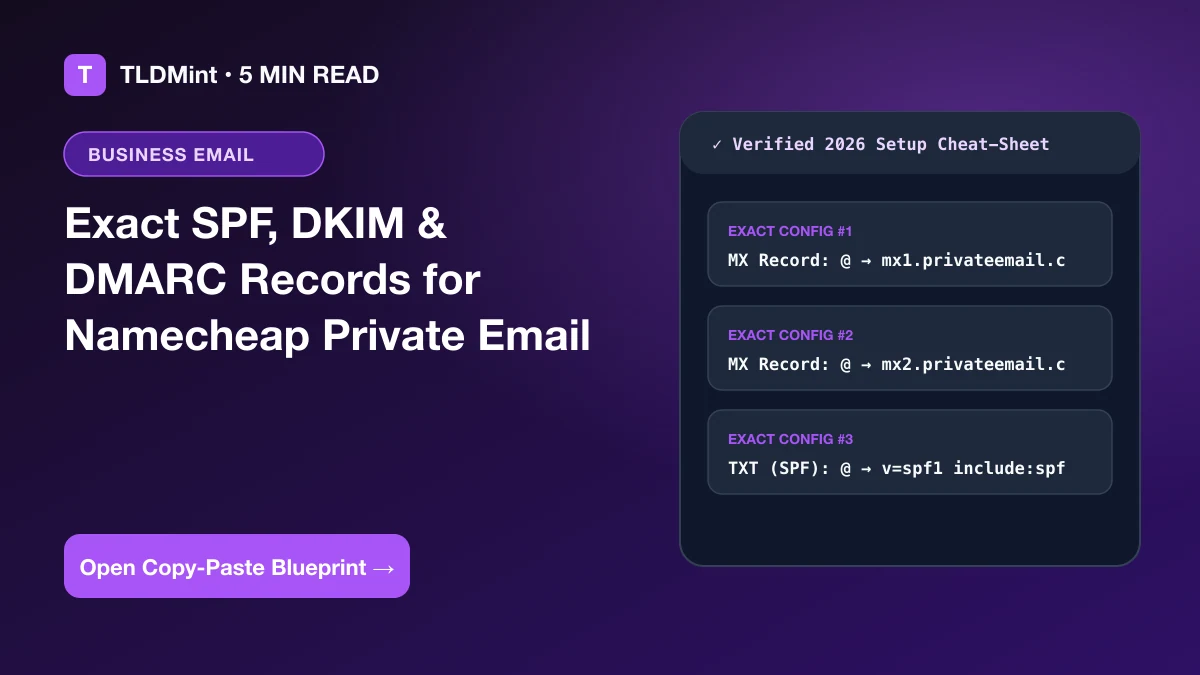
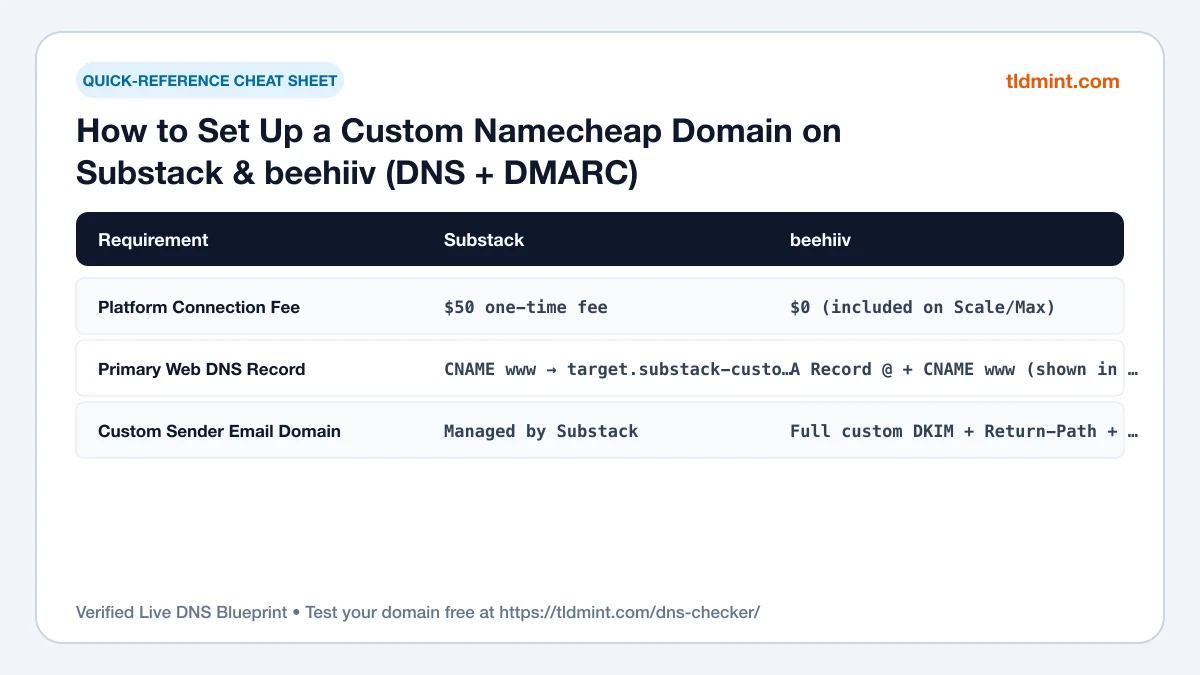
beehiiv supports root domains natively via an A record + www CNAME at zero extra platform fee on paid tiers, whereas Substack requires a CNAME record (typically on www or read.yourdomain.com pointing to target.substack-custom-domains.com) plus a one-time $50 Substack activation fee.
| Requirement | Substack | beehiiv |
|---|---|---|
| Platform Connection Fee | $50 one-time fee | $0 (included on Scale/Max) |
| Primary Web DNS Record | CNAME www → target.substack-custom-domains.com | A Record @ + CNAME www (shown in dashboard) |
| Custom Sender Email Domain | Managed by Substack | Full custom DKIM + Return-Path + DMARC |
Recommended Verified Offer for This Setup
Get a .COM Domain for Just $5.98 + Free Lifetime WHOIS Privacy
Register your first .COM domain at Namecheap for $5.98 (up to 60% off standard retail) with free Domain Privacy protection forever and free DNSSEC.
Frequently Asked Questions
How do I redirect root yourdomain.com to www.yourdomain.com on Substack?
Because Substack uses a CNAME on www, use Cloudflare free DNS redirect rules (301 permanent redirect with HTTPS) or Namecheap URL Redirect so visitors typing your bare root domain land on https://www.yourdomain.com seamlessly.